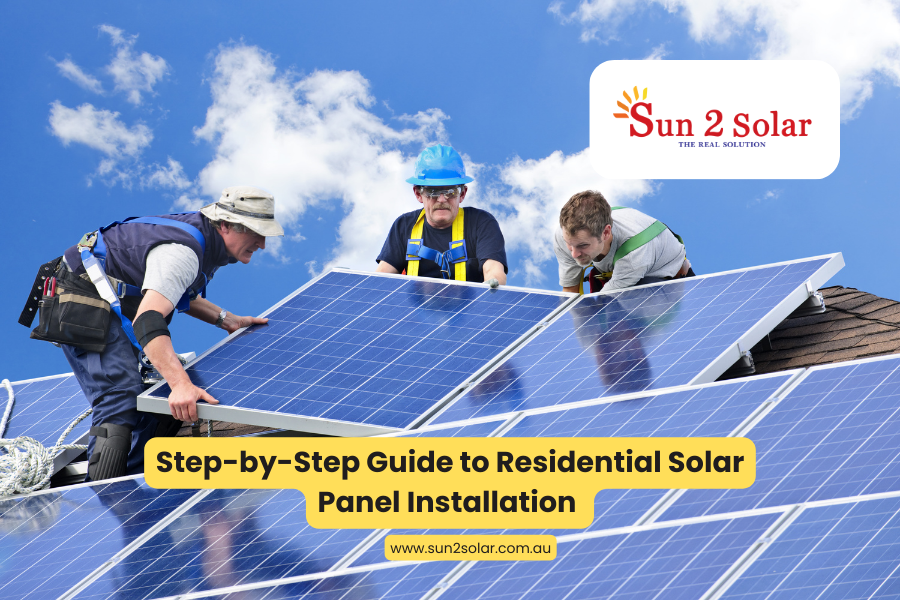
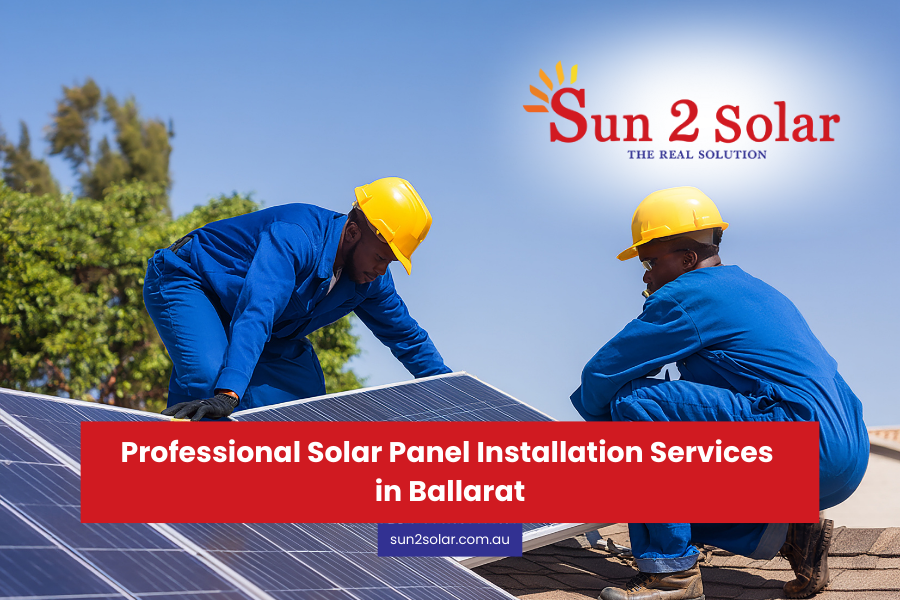
Solar panels do a lot of good to the homeowner. They create energy with the help of the sun, that is why you use less electricity and save on it. Use of solar energy for homes also conserves the environment by reducing pollution.
Solar systems also give you energy independence. Extra power can be stored in batteries and used later at night or during a blackout. With government rebates and support, home solar panel installation is now an affordable and smart choice. Picking the best solar panels for home use makes your system last longer and perform better.
In Australia, panels should face north and be tilted between 18° and 36° for best sunlight. Some systems even use trackers that move with the sun for more energy.
After the mounts are ready, the panels are fixed with bolts. Secure installation protects them from wind and storms. Using quality solar panels for residential homes means they will last longer and work better.
Alignment is also very important. Panels should be even and spaced correctly. Poor alignment can lower efficiency and reduce power output.
Next is wiring the panels together. MC4 connectors are commonly used to keep everything safe and compatible. Good wiring stops energy loss and reduces safety risks.
There are two main ways to wire panels:
The method depends on your home’s power needs.
The inverter is the component which transforms DC power generated by the panels into AC power which can be used by your home. Terminals of the inverter are connected to each other by the negative and positive wires that originate at the panels.
The inverter is the most important part of the system. A good inverter makes the whole setup more reliable and efficient. Many new inverters also have screens that show power use and performance.
Connect your system to have a battery to the inverter. The extra power is stored in the battery at the expense of later use. You should always connect the positive to positive and negative to negative so as to be safe.
In off grid systems batteries, they can be handy in the case of a blackout. When they are well connected, they last longer and become more effective.
For homes connected to the grid, the inverter must be linked to the main switchboard. This allows extra power to flow back into the grid. Net metering can even give you credit for this exported energy.
This step makes sure your solar system works smoothly with your home’s normal electricity supply.
After the completion of all steps, the inverter may be switched on. Most inverters have a live output of the amount of electricity being produced and current consumption.
This is the step where your solar system starts working and producing clean energy for your home.
Before fully using the system, do safety checks. Make sure wires are insulated, mounts are secure, and the system is grounded. This reduces risks and helps the system last longer.
Small problems may also be detected early with regular checks including loose bolts or exposed wires. Factoring in problems in the early stages prevent much larger later problems
Cleaning, maintaining and cleaning panels make this system work to its maximum power. Leaves or dust and dirt or bird droppings can clog sunlight and lower efficiency.
Inverters and wiring should also be checked regularly. Observing the process of energy production makes it easier to identify when the system is not good.
Once installed, it is necessary to monitor the amount of energy one is saving. Most inverters provide real-time information as to generation and consumption of power.
When monitoring such data, it is possible to adjust your energy consumption to be in line with solar production. This way, you save more money and get the most benefit from residential solar panels installation.
Some people spend too much on systems without comparing prices. Always check different options and choose the best solar panels for home use within your budget. Make sure you also have all parts like mounts, batteries, and connectors.
Another mistake is the wrong system sizing. Always check your household energy needs before buying. Using the wrong wire size can also waste power and cause overheating. Careful planning avoids these problems.
There is no reason to postpone the process of becoming energy independent with the help of Sun 2 Solar because it is affordable, easy, and a wise idea to start using clean energy in the long-run perspective.


